Homemade Fava Bean Hummus: Essential Tips for Peeling Skins
While chickpea hummus holds a beloved spot in many kitchens, there's a world of flavor waiting to be explored with its vibrant green cousin: fava bean hummus. This unique spread, sometimes called fava bean puree, offers a delightful departure from the traditional, boasting an earthy, nutty flavor and a surprisingly light, creamy texture. However, the path to this culinary gem often comes with one significant hurdle: peeling the fava bean skins. Fear not, aspiring home chefs! This comprehensive guide will walk you through every step, ensuring your homemade fava bean hummus is a resounding success, starting with the essential techniques for effortless peeling.
The Allure of Fava Beans: Why This Hummus Stands Apart
Fava beans, also known as broad beans, are ancient legumes with a rich history and an impressive nutritional profile. Related to peas and other beans, they offer a distinct taste that's less starchy than lima beans, with a unique sweetness and earthiness that sets them apart. Beyond their captivating flavor, fava beans are a powerhouse of nutrition:
- Excellent Source of Fiber: Crucial for digestive health and maintaining satiety.
- Rich in Protein: A fantastic plant-based protein option, especially for vegetarians and vegans.
- Vitamins and Minerals: Packed with folate (vitamin B9), manganese, copper, iron, and vitamin K, supporting everything from blood health to bone density.
When transformed into fava bean hummus, these benefits become part of a delicious, versatile dip or spread. The choice of fava beans also plays a role in the final texture. Chef Traci Des Jardins suggests using late-season fava beans for hummus, as their increased starchiness contributes to a smoother, more substantial puree. If you're keen to explore how bean starchiness impacts your final product, read more in Crafting Delicious Fava Bean Hummus: Tips for Starchy Beans.
From Pod to Plate: Efficiently Shelling Your Favas
Before you can even think about peeling, you first need to liberate the fava beans from their thick, sturdy pods. These pods can be 5-6 inches long and quite substantial. While the process is straightforward, it can be time-consuming, so put on some music or a podcast!
Here’s an efficient method for shelling fava beans:
- Prepare Your Workspace: Have a large bowl ready for the shelled beans and another for the empty pods.
- Grip and Unzip: Hold a pod in one hand, placing your thumb at the stem end. With your other hand, bend and pull the stem end down and along the length of the pod. This action should "unzip" the pod, tearing the stringy seams along the sides, much like opening a zipper.
- Release the Beans: Once unzipped, the pod will open to reveal the beans nestled within a fuzzy, cotton-like lining. Simply slide your thumb along the inside of the pod to release the flat, roughly inch-long beans. Remember, early-harvested beans might be smaller.
Be prepared for the volume: 6 pounds of fava bean pods typically yield about 1.5 to 2 pounds of shelled beans. This initial step is purely mechanical, but it's the gateway to the much-anticipated vivid green treasures within.
The Crucial Step: Mastering Fava Bean Peeling for Smooth Hummus
Now, for the main event: removing those surprisingly thick, pale green skins from each individual bean. This step is non-negotiable for achieving a truly smooth, creamy fava bean hummus, as the skins can be tough and fibrous. The secret lies in a classic culinary technique: blanching and an ice bath.
Blanching: The Key to Loosening Skins
Blanching involves briefly cooking the beans in boiling water, then rapidly cooling them. This thermal shock is what helps the skin separate from the vibrant interior.
- Boil Water: Bring a large pot of salted water to a rolling boil over high heat. The salt isn't just for flavor; it can help maintain the beans' green color.
- Submerge the Beans: Once boiling vigorously, drop your shelled fava beans into the water. Ensure there's enough water so the temperature doesn't drop too drastically.
- Blanch for 8 Minutes: For easily peelable skins, a blanching time of about 8 minutes is ideal. While some recipes suggest "briefly," a slightly longer blanch for hummus makes the peeling process much smoother.
- Reserve Liquid (Optional but Recommended): Before draining, scoop out about a cup of the hot cooking liquid and set it aside. This liquid can be invaluable later for adjusting the consistency of your hummus.
- Drain Promptly: Quickly drain the hot beans in a colander.
The Ice Bath: Halting Cooking and Aiding Peel
Immediately after draining, transfer the hot fava beans to a large bowl filled with ice water. This rapid cooling accomplishes two critical tasks:
- Stops Cooking: It prevents the beans from overcooking, preserving their bright green color and fresh flavor.
- Aids Peeling: The sudden temperature change causes the bean to contract slightly, further loosening the skin and making it much easier to remove.
Allow the beans to cool completely in the ice bath, usually for a few minutes, then drain them well.
The "Nick and Squeeze" Technique for Peeling Skins
Now comes the meditative (or slightly tedious, depending on your perspective!) part: peeling each bean. Don't worry, once you get the hang of it, it goes quickly, and the reward of the brilliantly green interior is worth it!
- Grip a Bean: Pick up one blanched and chilled fava bean.
- Nick the Skin: Using your thumbnail or a small paring knife, make a small nick or tear in the thick skin at one end of the bean.
- Squeeze and Pop: Gently squeeze the bean from the opposite end. The vibrant green inner bean should easily pop out of its pale, tough skin. You'll be amazed at the contrast in color!
Repeat this process for all your fava beans. This is arguably the most time-consuming part of making fava bean hummus, but it's also the most crucial for achieving that silky-smooth texture. For a batch from 6 pounds of pods, expect to spend anywhere from 30 minutes to an hour on this peeling stage.
Crafting Your Perfect Homemade Fava Bean Hummus
With your beautifully peeled fava beans ready, the rest is simple. There are two primary approaches to cooking your fava beans for hummus:
Method 1: Post-Peeling Cook (Chef Traci Des Jardins' Style)
This method involves an additional cooking step after peeling, which is excellent for very starchy beans or achieving a deeply integrated flavor:
- Place the peeled fava beans in a heavy-bottomed pan.
- Add a generous amount of good quality extra-virgin olive oil, a good amount of salt, and about 1/2 cup of water.
- Bring to a boil, then reduce heat to low, cover, and simmer for about 30 minutes.
- Remove the lid and continue cooking, stirring frequently and mashing the beans with a spoon or potato masher, until most of the moisture has evaporated and the beans have formed a puree.
- Adjust seasoning with more salt and freshly ground pepper.
Method 2: Food Processor Puree (Common for "Hummus")
This method, more akin to traditional chickpea hummus, uses the blanched and peeled beans directly in a food processor:
- Combine Ingredients: In a food processor, combine your peeled fava beans with key flavor enhancers. Essential ingredients include:
- Extra-Virgin Olive Oil: Use a good quality oil as its flavor will shine through.
- Garlic: Peeled cloves can go in whole; the food processor will handle the chopping. Consider roasting garlic beforehand for a milder, sweeter flavor.
- Lemon Juice: A squeeze of fresh lemon juice brightens the flavor.
- Salt: To taste, but don't be shy.
- Pepper: Freshly ground black pepper adds a nice counterpoint.
Optional additions to elevate your homemade fava bean hummus:
- Tahini: While not in all fava bean hummus recipes, a tablespoon or two can add a delightful creaminess and depth, bringing it closer to a traditional hummus texture.
- Cumin: A pinch of ground cumin can enhance the earthy notes.
- Fresh Herbs: A few sprigs of mint or parsley pulsed in at the end can add a fresh finish.
- Pulse Until Smooth: Begin pulsing the ingredients. Scrape down the sides of the bowl as needed.
- Adjust Consistency: Gradually add the reserved fava bean cooking liquid (or fresh water/lemon juice) a tablespoon at a time until you reach your desired smoothness and consistency. Some prefer a slightly rustic texture, while others aim for ultra-creamy.
- Taste and Adjust: Season generously with more salt, pepper, or lemon juice to achieve the perfect balance.
Serving Suggestions and Beyond
Your freshly made fava bean hummus is incredibly versatile. Here are some ways to enjoy it:
- Classic Dip: Serve with warm pita bread, crunchy crostini, or slices of toasted baguette.
- Vegetable Dipper: A healthy and delicious option with carrot sticks, cucumber slices, bell pepper strips, or radishes.
- Sandwich or Wrap Spread: Elevate your lunch by using it instead of mayonnaise or other spreads.
- Accompaniment: Dollop it alongside grilled meats, fish, or roasted vegetables.
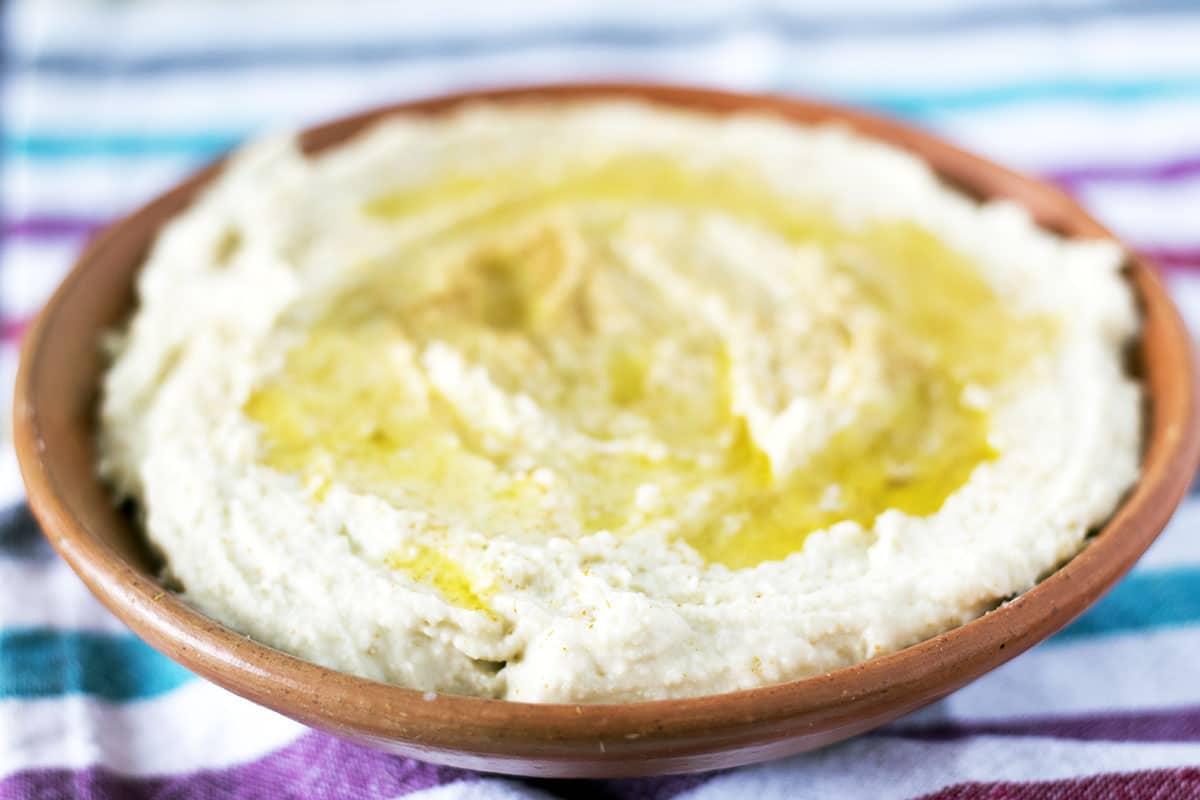
- Appetizer Platter: Garnish with a drizzle of olive oil, a sprinkle of paprika, or fresh herbs like mint or parsley.
Store leftover fava bean hummus in an airtight container in the refrigerator for up to 3-5 days. A thin layer of olive oil on top can help prevent discoloration and keep it fresh.
Conclusion
Making homemade fava bean hummus is a labor of love, but one that rewards you with an incredibly fresh, flavorful, and uniquely satisfying spread. While the process of shelling and especially peeling the fava bean skins might seem daunting at first, armed with these essential tips—from efficient podding to the critical blanching and "nick and squeeze" technique—you'll find it a manageable and even enjoyable culinary ritual. The vibrant green hue and distinct taste of your homemade creation will be a testament to your efforts, proving that sometimes, the best flavors truly are worth the extra step.
